Mastering the AI Virtual Staging Workflow: Step-by-Step Tutorial
Key Takeaways
New to AI Virtual Staging? This quick, 3-step technical tutorial will teach you exactly how to process your first empty room photo from upload to 4K download.
Transforming Empty Spaces with Magic
If you're coming from the world of expensive physical staging or slow, manual virtual staging agencies, using AIVirtualStaging.pro will feel like magic. Our engine eliminates all back-and-forth emails, revision requests, and 48-hour delivery times.
Here is your exact step-by-step masterclass on how to stage your first room in less time than it takes to brew a cup of coffee. Don't forget to review our Cost Comparison Guide if you are still on the fence about the value.
Step 1: Upload Your Canvas
The process starts by dragging and dropping an image into the generator. You can use standard JPEGs, PNGs, or WebP files heavily optimized from your photographer.
- Locate the dark, glassmorphic upload container at the top of the homepage.
- Drag your high-resolution empty room photo directly into the dashed box, or tap it to open your file browser.
- Wait for the preview: You will see your photo instantly appear inside the container. This confirms the aspect ratio has been successfully locked in.
Step 2: Define the Parameters
This is where you tell the AI interior designer what to do.
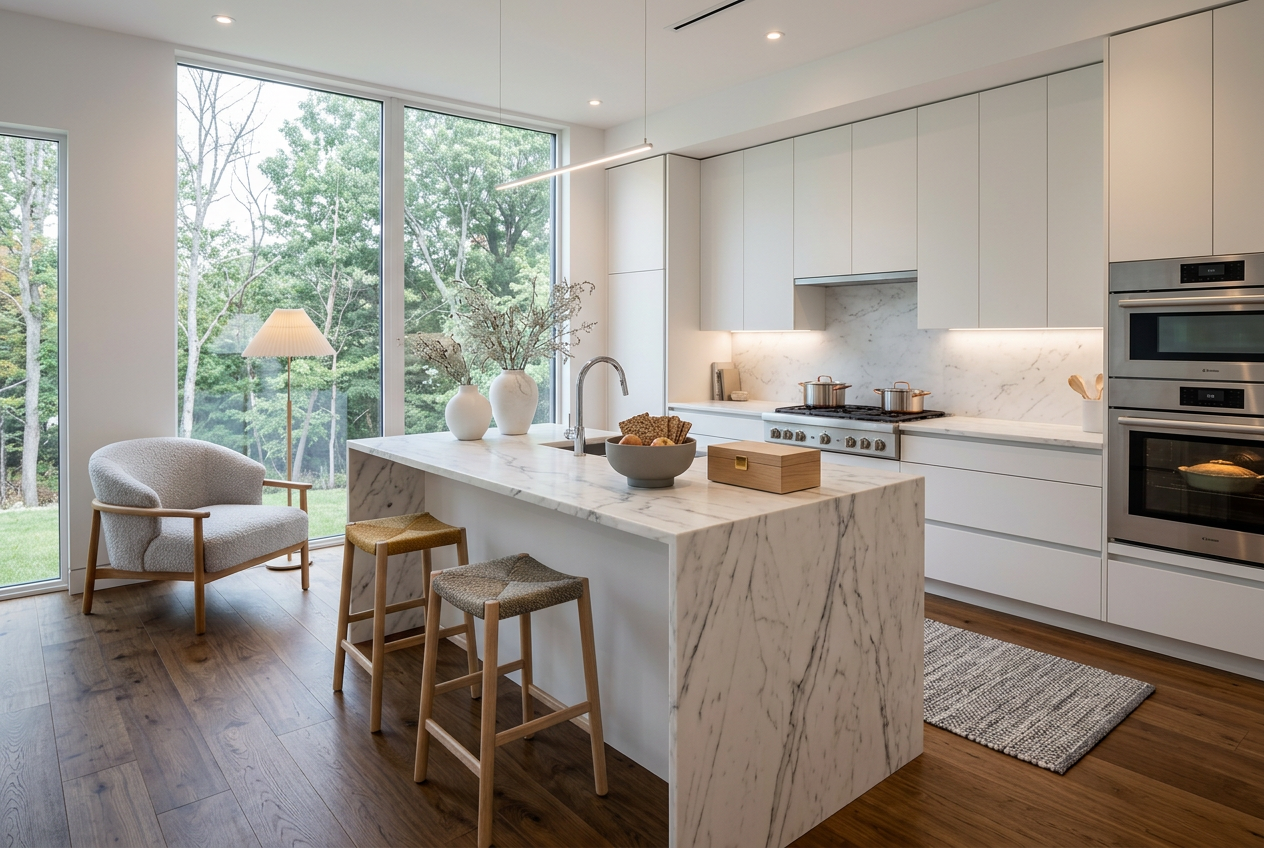
- Room Type: Click the first dropdown and select the accurate room type (e.g., Living Room, Master Bedroom, Kitchen). Crucial tip: If your room is an empty gray box, explicitly identifying it as a "Kitchen" anchors the AI's structural parameters so it generates cabinets instead of sofas.
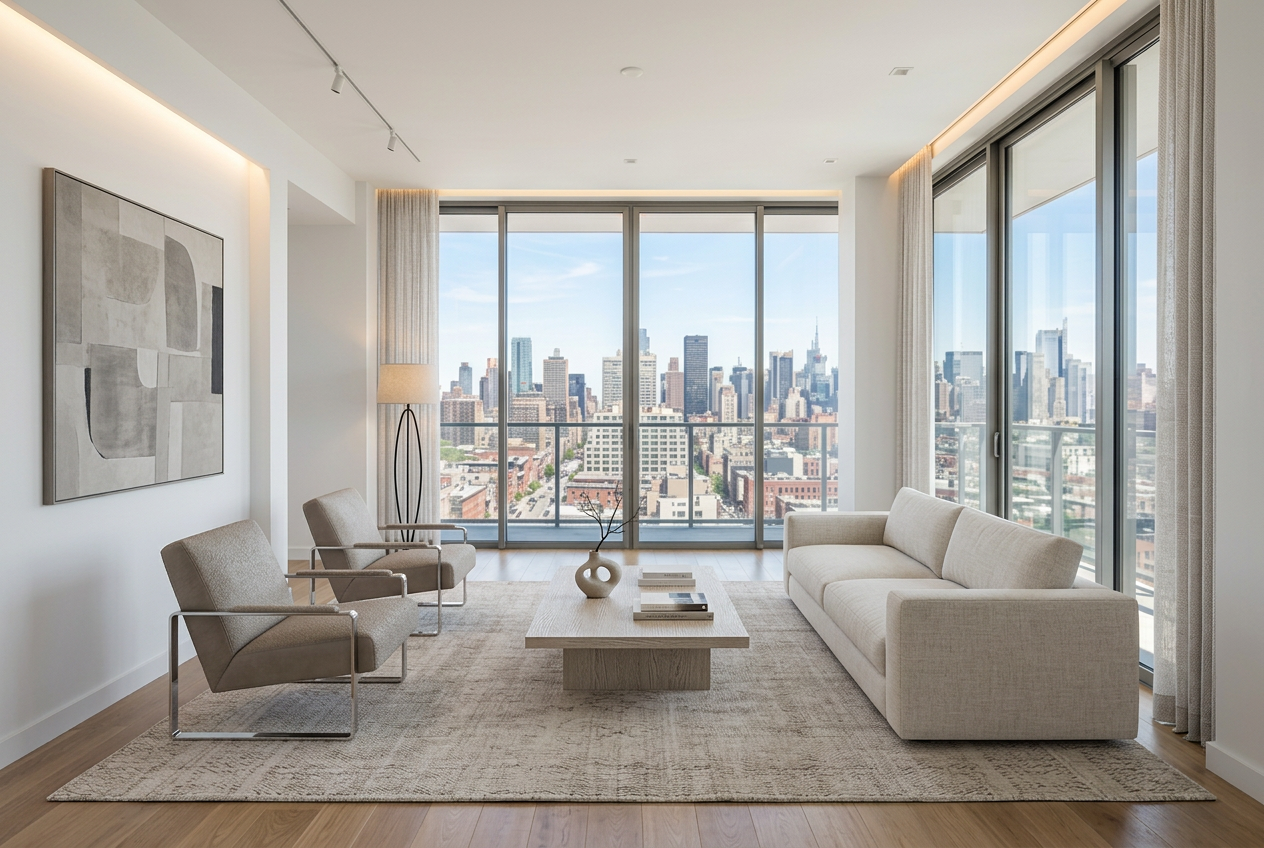
- Design Style: Choose your demographic aesthetic. We highly recommend Japandi for modern luxury or Scandinavian for bright, airy appeal.
Step 3: Generate and Reveal
Once your parameters are set, you're ready.
- Tap the glowing golden "Generate Magic" button.
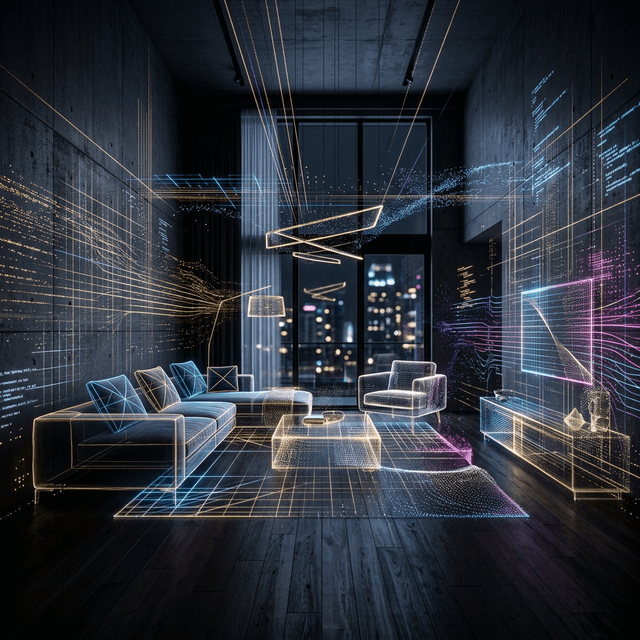
- You will see a mesmerizing processing animation. Our serverless edge architecture is currently booting up an isolated diffusion model instance exclusively for your image.
- The process takes exactly 10 to 20 seconds.
Step 4: Compare and Download
When the engine finishes, your screen will smoothly transition to the Results panel.

- The Interactive Slider: You’ll immediately notice a vertical line splitting your image. This is a drag-to-compare slider. Grab the golden circle handle in the middle and slide it left and right to admire the flawless structural preservation. Notice how the walls, windows, and floors remain perfectly intact.
- 4K Export: Click the "Download 4K HD" button beneath the image. This triggers a secure proxy fetch that saves the uncompressed, MLS-ready image directly to your local machine.
Batch Workflow (Pro Level)
Have 15 images for an entire listing? Don't do them one by one. Once you're comfortable with the single-image tool, navigate to your User Center Dashboard and select the "Batch Generation" tool (available based on tier). This allows you to drag all 15 images in at once, apply specific rules to each, and walk away while the servers handle the render farm pipeline.
Ready to begin? Head to the homepage generator now!
Ready to transform your own listings?
Join thousands of real estate agents using AIVirtualStaging.pro to render MLS-ready photos in 20 seconds.
StagePro Education
Lead Interior Design & AI Specialist at AI Virtual Staging. Passionate about empowering real estate professionals with cutting-edge architectural visualization tools.